How To Create A POAP
January 13, 2022 - 6 min read
POAPs are a fun way to share moments with your community. They're free to launch and collect. I walk you through exactly how to create and distribute POAPS with this step-by-step guide.

Humans have been tribal from the very start. When we see someone wearing clothes from a band we like or a sports team we like watching, we automatically think of that person as a friend.
In the coming years, humans will continue to signal who they are through their virtual profiles & NFTs they own. A POAP is a free way to collect and commemorate events and moments you enjoy. We're starting to see people build their virtual collection of POAPs and show them off to family and friends.
POAP stands for Proof Of Attendance Protocol. They are NFTs that exist on a layer 2 blockchain and are used to celebrate moments in communities. Collectors of POAPs can unlock extra benefits or experiences if the POAP creator chooses.
Making your first POAP is completely free and can be used to celebrate any occasion. I’ve used POAPs to celebrate launching educational articles teaching about NFTs. You may want to use a POAP to give a digital token that shows someone went to an in-person meetup, virtual meetup, or other big moments that happen in your community.
POAPs will show up on your digital profile forever. When looking at POAPs through that lens, they are especially useful to celebrate a big moment in you or your community's life that you want to be remembered for a long time.
How To Create A POAP
Let’s learn how to make your own POAP!
A few things to start out:
It's best to create your POAP a few days before your event takes place because there's a 24 hour approval process. You'll also want to apply for only the amount of codes you need.
POAPs are minted on the blockchain and have a limited supply, equal to the number of codes you get. Additionally, be sure to write down your POAP's Edit Code. You'll need your Edit Code if you want to edit your POAP after it launches.
It's a good practice to only give POAPs to people who actually attended the event. There seems to be an army of people that come out of the woodwork to collect every POAP they can find, whether they attended the event or not.
The first step to creating your POAP is figuring out what event you want to celebrate. It can be anything meaningful to your or your community. You’ll want to pick these moments wisely because if you released a POAP for every single event that happens every day, your POAPs might lose a bit of sentimental value with your collectors..
POAPs can help spread the word about events you're hosting. I created a POAP to commemorate the launch of an article called Nobody Cares If You Screenshot Their NFT.
Launching the POAP and sharing it to Twitter helped our website get hundreds of extra views and email sign-ups.
Once you’ve identified what you want to celebrate, the next step is designing the POAP.
How To Design Your POAP
If you want to create the design yourself, you have a few options.
Canva.com is a great free online tool that allows you to make your own POAP. Dimensions you'll need to start are 500x500px.
If you’re handy with Photoshop, there’s a free template you can use to start your POAP design. You can also use the free online editor with this photoshop file called Photopea.
You can also use sites like fiverr to pay someone to design a POAP.
Your POAP's image has a few requirements...
Image dimensions: 500px X 500px Image size: less than 200kB Image format: PNG / APNG format Recommended: Round shape with transparent background
Launching Your POAP
When you’re ready to use your image, it’s time to start releasing your POAP. Click here to start.
Fill these fields out and click save! You’ll then receive codes to share with the individuals who attended your event. You can share these codes with your attendees on social media. Each code can be used only once, so make sure you don't accidentally send 2 codes to one person.
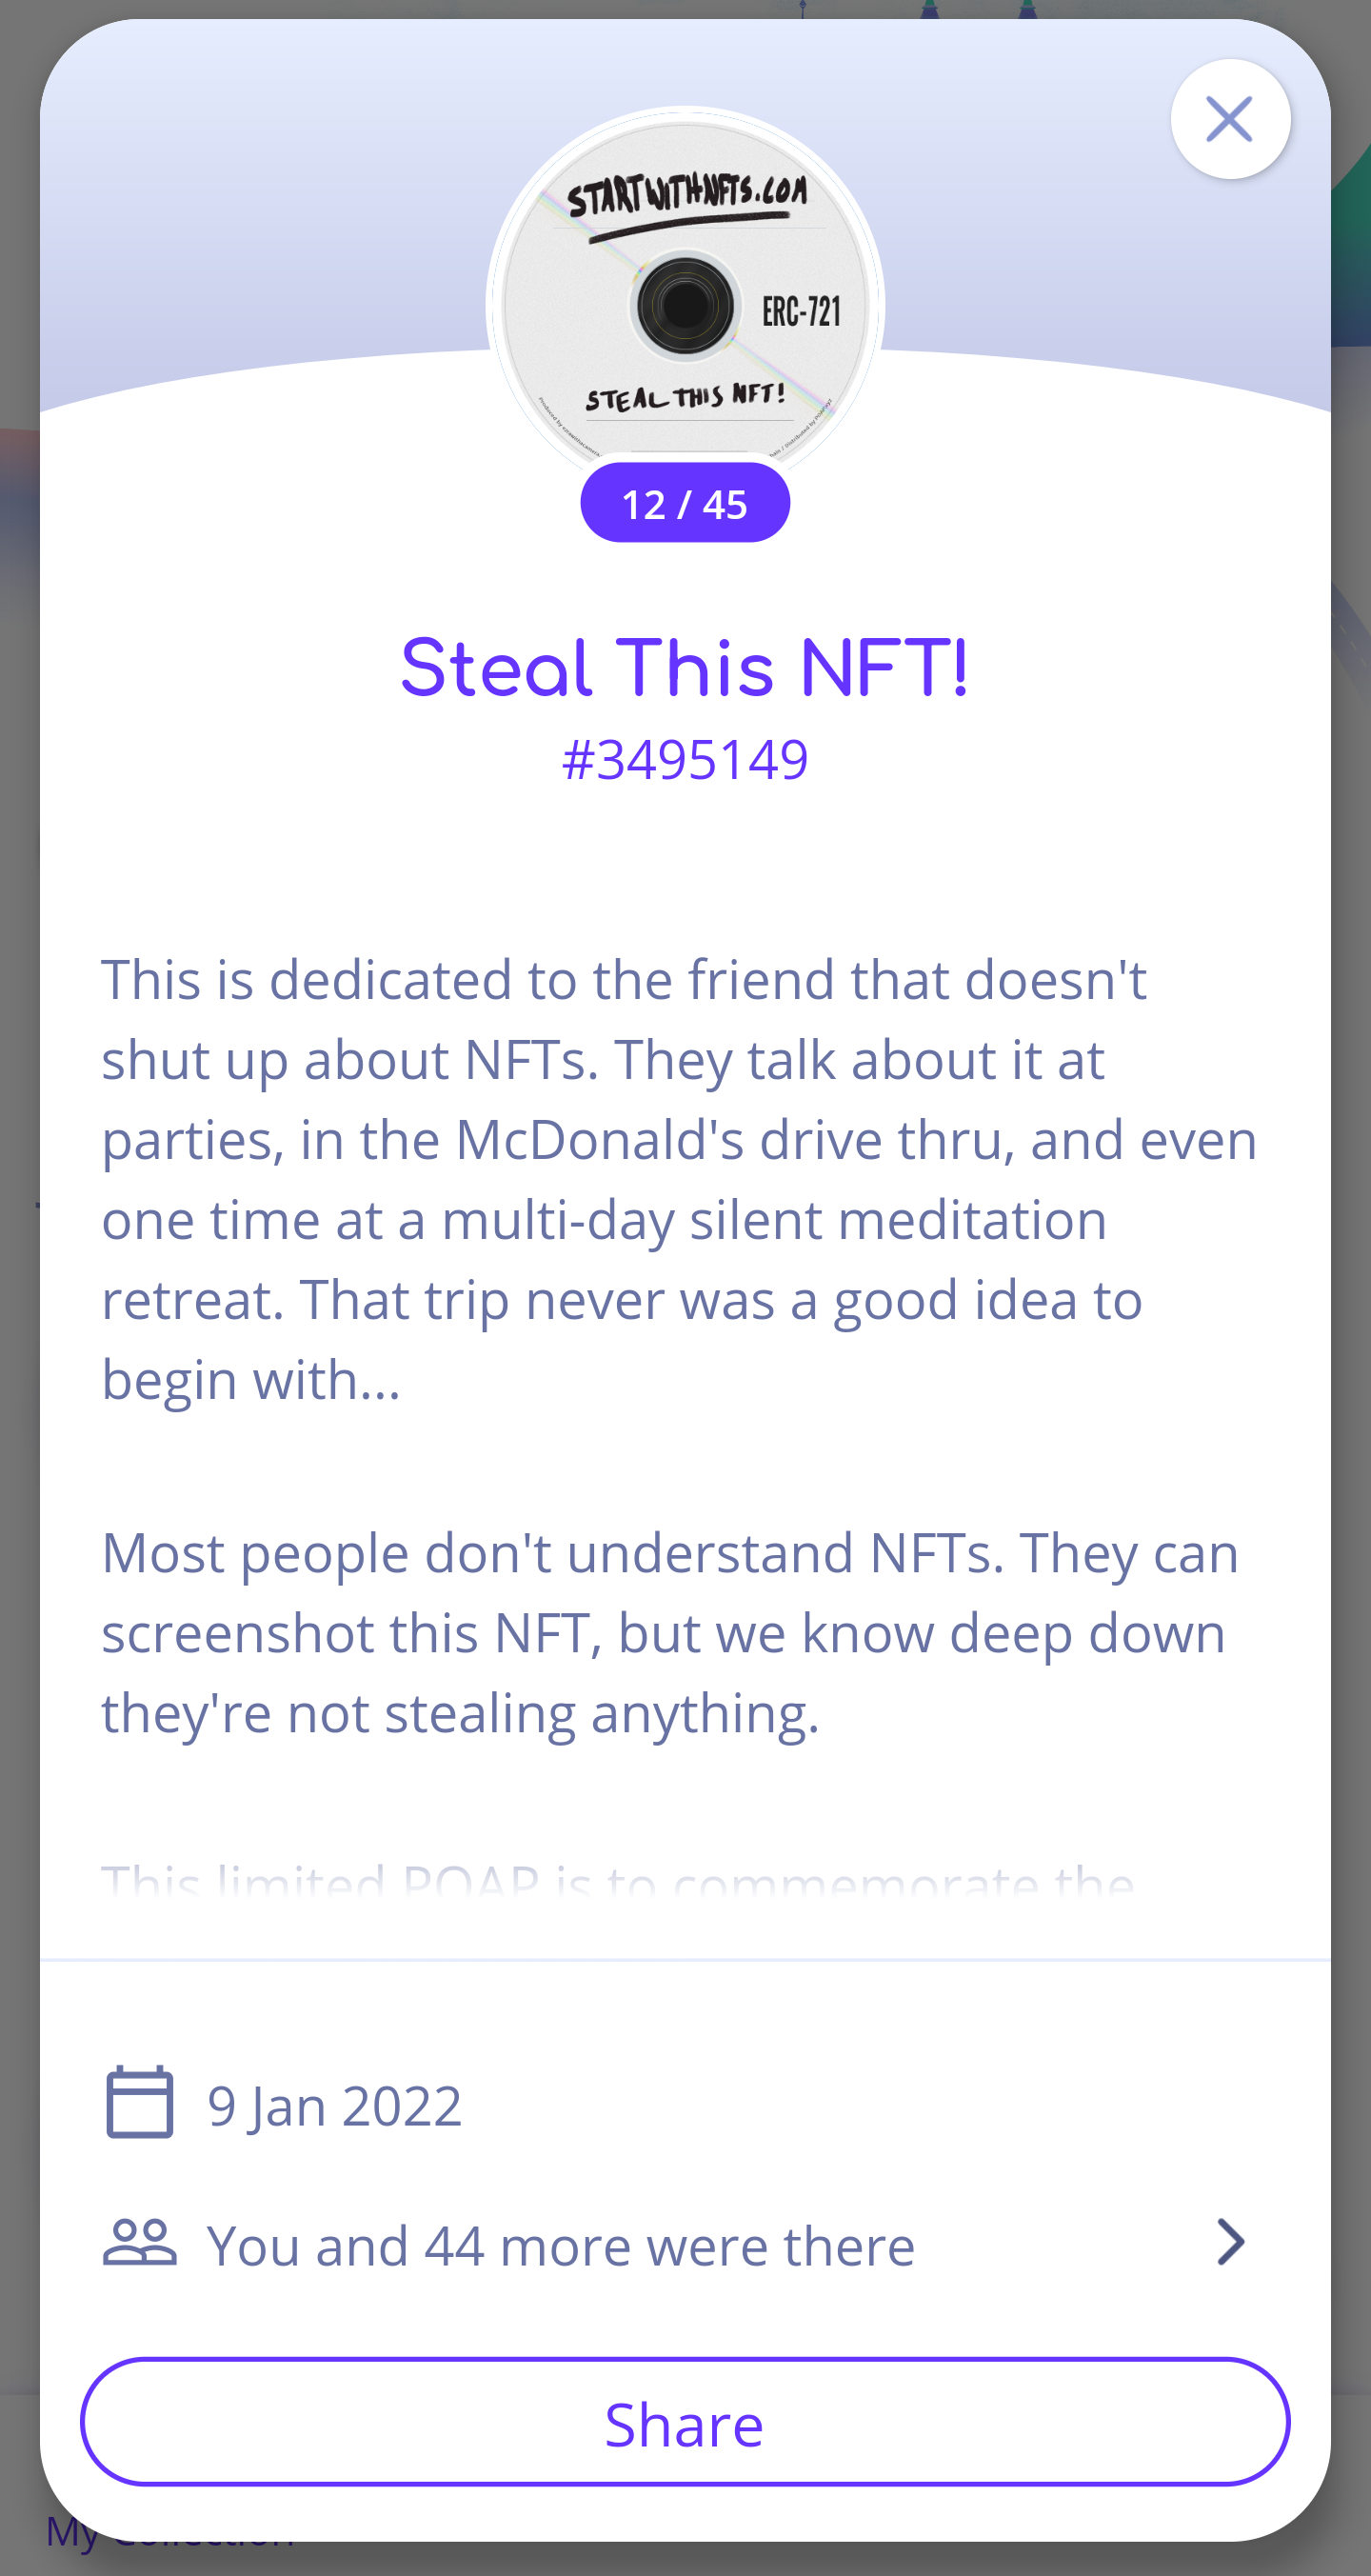
This is what your POAP will look like in the POAP mobile app when it’s collected.

Let’s go through some things to keep in mind when you’re launching your POAP :)
Name: The name of your NFT that shows up when someone looks at your NFT [Steal This NFT!]
Description: Fill this out to explain what the POAP is for, both for people who collect the POAP & people who look at the POAP in the future.
Virtual Event: If your event is virtual, check that box. Some people fill out the Country and put the location as Decentraland or other metaverses the virtual event took place in.
Start & End Date: If your event is only one day, put that as your Start & End Date.
Expiry Date: This will be the last day your collectors can claim your POAP. I personally like putting the expiry date a week or more after the event ends because not everyone claims their POAP the same day of the event. Putting the Expiry Date a few days after the event ends gives collectors a few days to claim the POAP.
Website: If you have a website or landing page to go along with the event, put it there. Be sure you paste the FULL URL including https:/ or it won’t work.
Template: You can use an existing template created by the community, although it’s highly recommended to download one of the templates mentioned above and design your own
Choose file: You’ll upload an image from your computer to represent the visual of your POAP.
Edit Code: You’ll NEED to copy this code if you want to edit any part of the POAP after you launch it. You’ll be able to edit any aspect EXCEPT for the image.
Email: Email will be used to send the codes you’ll use to distribute the POAP to collectors.
Amount Of Codes: Be sure to only apply for the amount of codes you actually need. You’ll easily get approved for at least 99 codes.
The POAP team will manually approve the amount of codes you request. It will take up to 24 hours to get your code so it’s best to create your POAP at least a few days before your event takes place.
You'll get a list of codes that you can copy and paste to your collector's DMs on Twitter or other social media so they can claim their POAP!
Newsletter
Enter your email address below to subscribe to my newsletter
latest posts


